Get your jack-o-lantern mojo on
/
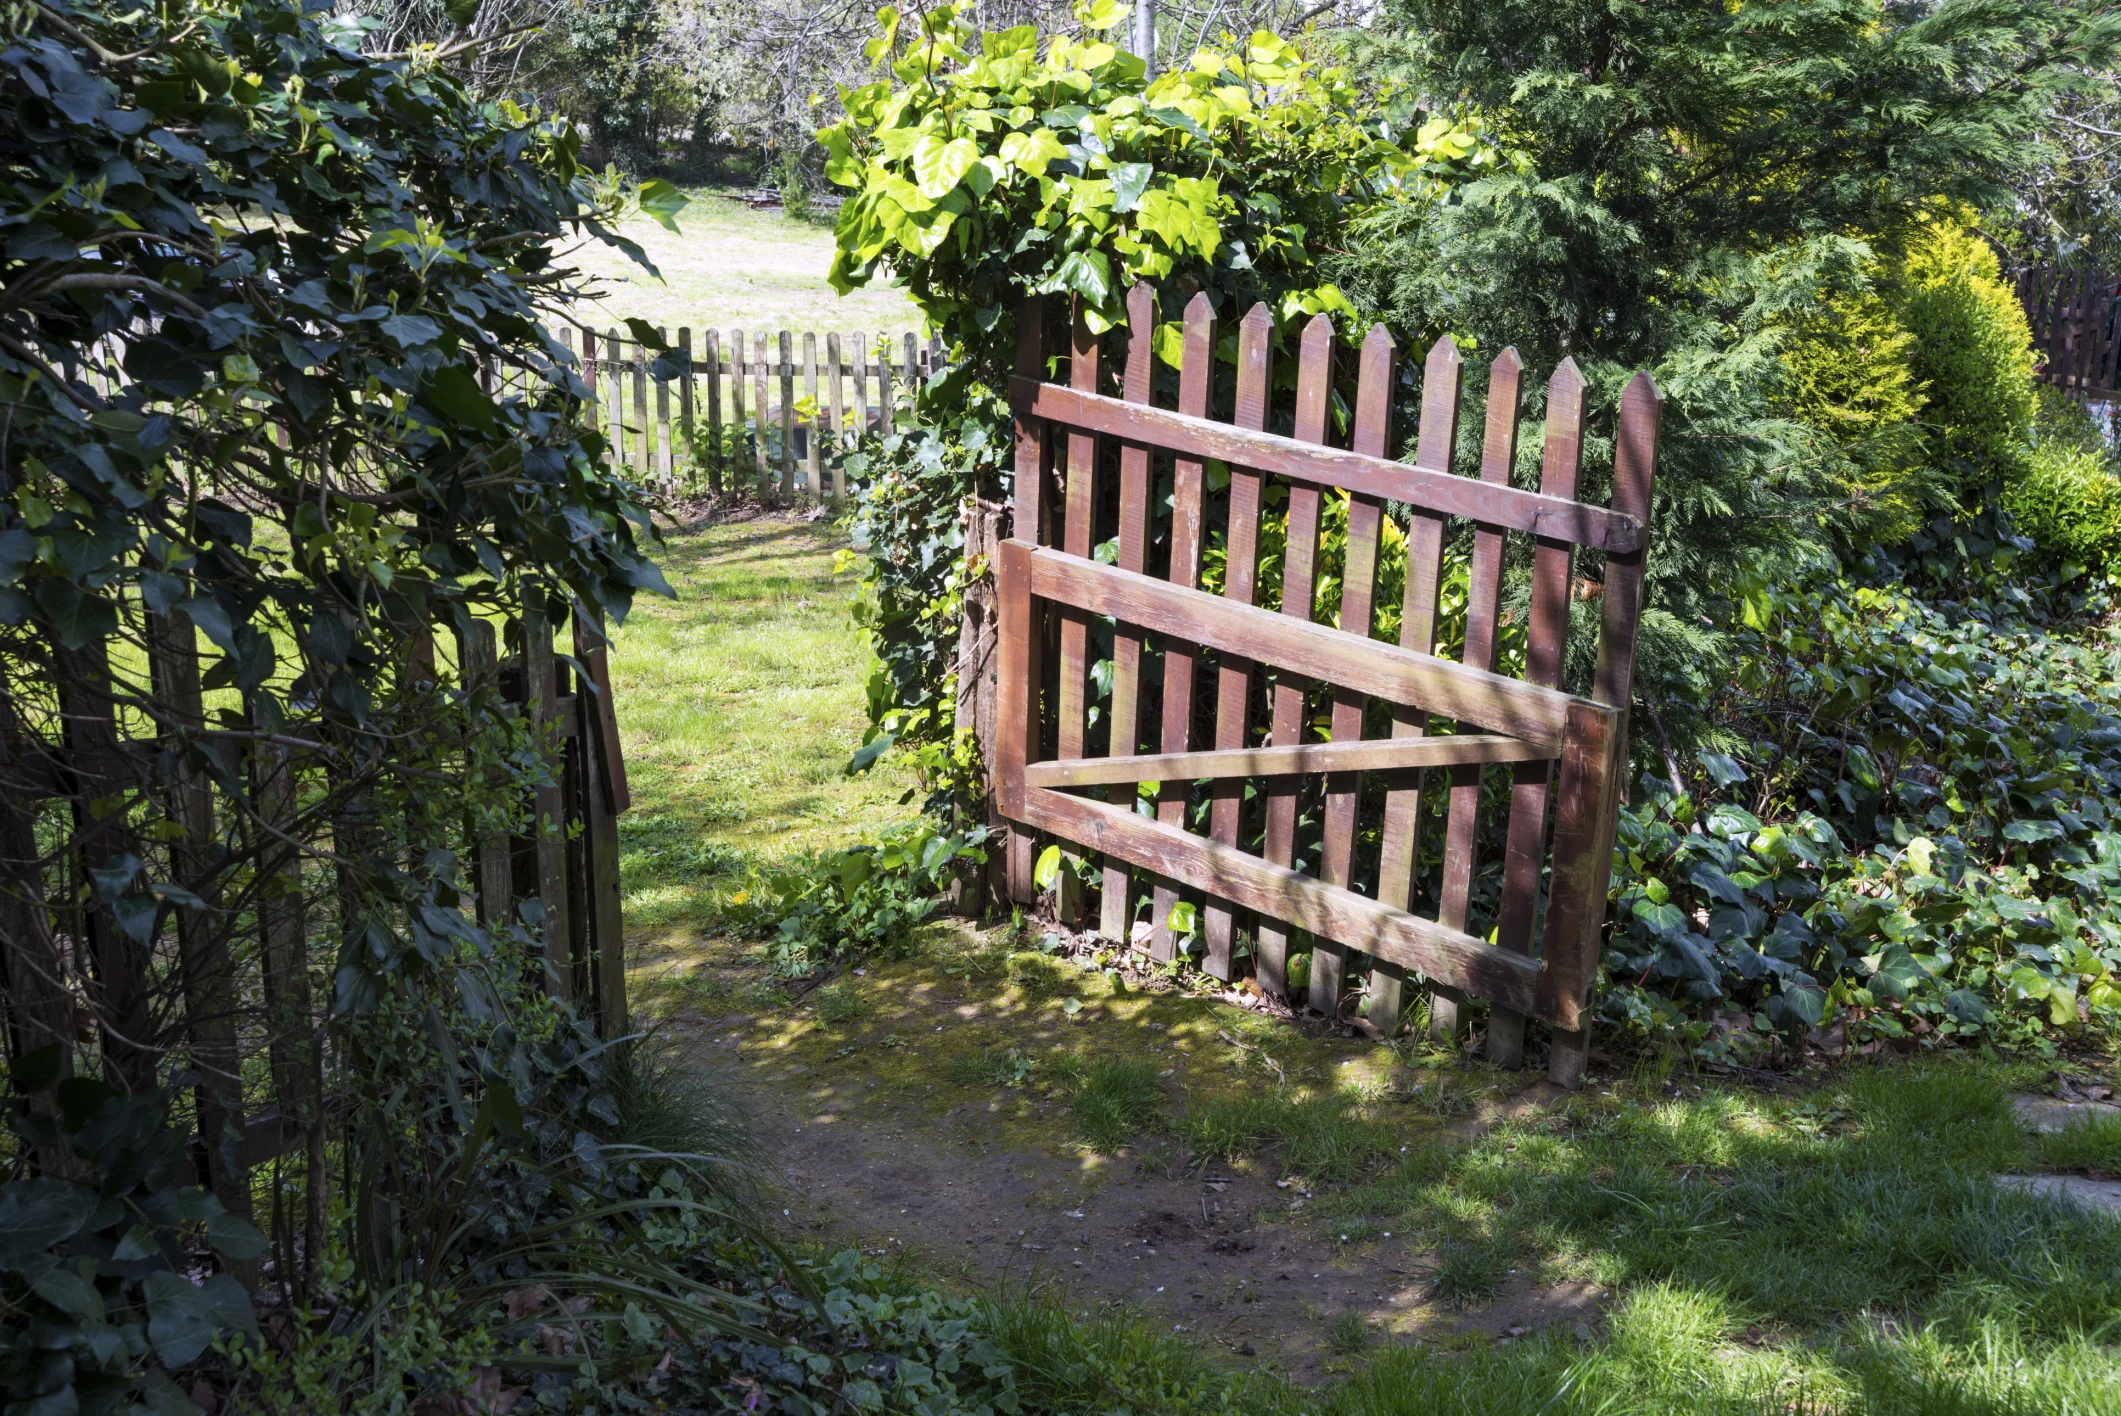
Pumpkin carving, a folk art for everyone. — Aaron Mentele/Flickr
Halloween brings out the kid in all of us – there’s the spooky factor, the dressing up in costumes, the bags of candy and of course, the pumpkins.
No other common field crop inspires such universal affection. To see a pumpkin is to want to thump its bright orange sides and turn it into a temporary plaything put on display for all to see.
Carving a face or design into a hollowed-out and candle-lit vegetable is among the oldest customs brought to America from the Old World. Originally, the carved item was a turnip, but considering how hard and dense they are, the pumpkin (a Central American native) soon left turnips in the dust of history.
Kids love the messy, gloppy business of scooping out the seeds and stringy pulp (a job best done outside). But then what? Lots of us can remember our usual effort. There was a pair of triangular eyes, an off-center nose and a lopsided mouth, with or without a crooked tooth or two. For higher inspiration, have a look at these examples.
Today there’s a secret weapon that can turn any would-be carver into an artist: pumpkin stencils. Anyone with access to a computer can download hundreds of patterns, many of them free, to turn a humble pumpkin into a masterpiece. Try the Pumpkin Lady for starters.
From simple faces that are child’s play to execute to elaborate designs that take hours to complete, stencils let you get down to business with confidence. The basics techniques aren’t difficult. Prepare the pumpkin by cutting a lid from the top around the stem. Hold your knife or keyhole saw at a 45 degree angle so the top will fit back in place without falling into the pumpkin’s cavity.
Then scoop out the “guts,” shaving down the area to be carved until it is about one inch thick. Scoops sold with pumpkin kits are ideal, but a sturdy spoon or an empty tuna can will work as well. If your pumpkin won’t sit up straight, you can carve a circle of flesh from the bottom.
Choose a pattern and enlarge it to suit the size of your pumpkin. Trim the pattern, leaving a border of about one-half inch around the stencil design. Then tape it to the pumpkin, making small pleats in the edges to fit it to the pumpkin’s curves.

Stencil applied to pumpkin. — girlwparasol/Flickr
The next step is to transfer the design. This is commonly done by pricking small holes along the lines of the pattern. Pumpkin carving tool kits include a pricker, but an awl or even a sturdy nail will do. Another trick is to use transfer paper, sold at any fabric store for transferring pattern markings to fabric. When the stencil pattern has been imprinted on the pumpkin, remove the paper and you’re ready to carve.
Saw slowly with gentle pressure, working on the smallest elements of the design first. Leave the cut portions in place to provide stability to the surface as you work. Once all the cutting is done, reach inside the pumpkin and gentle press the carved sections out. Finish by coating the cut surfaces with petroleum jelly to keep them from rotting prematurely.
You’ll want to light you design from within for the proper spooky effect. While a candle flame is traditional, battery-powered candles or votive lights are safer and produce less drying heat. If you use a regular candle, cut a vent high on the back side of the pumpkin to let heat escape.
There’s another way to use stencils. You can cut out stencil elements, apply them to pumpkins and then spray paint the entire pumpkin black or white. Once the paint dries, the stencils can be peeled off, revealing the orange pumpkin flesh below. For sharp lines, use painter’s tape to cover the area or glue on stencils. For a slightly blurry effect, just hot glue the stencils to the pumpkin, allowing a bit of paint to creep under the edges.
There’s an even easier cheat to try. After taping on a stencil, just filled in the ‘carved’ areas with a black permanent marker. From a distance, you would swear the pumpkin was carved.
Some other easy ideas:
- Make “message” pumpkins with stencil letters – “Happy Halloween!” works or just “Boo!”
- Use cookie cutters to trace random stars or circles onto a pumpkin and carve them out for a glowing pumpkin “lantern”
- Cut a simple Halloween motif – a bat, a witch’s hat or a black cat – into a sheet of paper, attach it to a white pumpkin and paint the image black
However you go about it, turning a pumpkin into a Halloween masterpiece is just plain fun. I know – Mama said you shouldn’t play with your food. But this is one big exception. Go for it.